This article is dedicated to the essential configuration points of MS Visual Studio 2022. You can read about how to configure the project’s color theme, external tools, NuGet package manager, Google Cloud Platform tools, and build configuration.
Visual Studio Integrated Development Environment (IDE) is outstanding development tool. You can use it to create computer programs, websites, web applications, web services, and mobile applications.
You can install different versions of Visual Studio 2022 from:
- Community 2022 – The free edition is multilingual and can be used by individual developers without restrictions.
- Professional 2022 – The fully featured development edition, best suited to small teams.
- Enterprise 2022 – In addition, the edition provides a new set of software development, database development, collaboration, metrics, architecture, testing, and reporting tools.
Visual Studio projects have separate release and debug configurations for your program. You build the debug version for debugging and the release version for the final release distribution.
Set the color theme
To change to a different color theme (default is dark) do following:
- Select the menu item Tools > Theme

In the Color theme list, choose between the default Dark theme, the Blue theme, the Blue (Extra Contrast) theme, and the Light theme. Or, choose the Use system setting option to select the theme that Windows uses. For more theme selection, click on the menu item Get More Themes. You will be redirected to the Visual Studio marketplace.
Configure an External Tool
To add an external tool (for example, Atom) to the Visual Studio Tools menu, follow the steps below:
- Select the menu item Tools > External Tools…
- Click the button Add
- Fill in the dialog fields as:
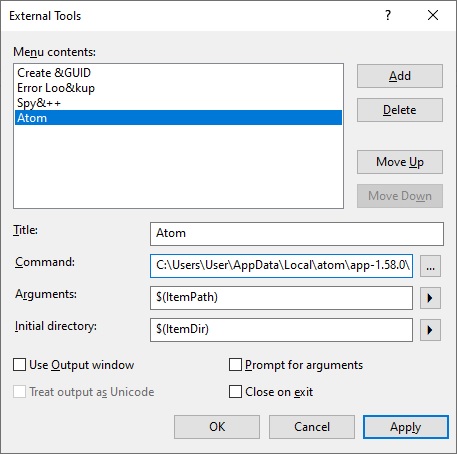
- Click the button Apply and check if the menu item Atom created in the menu Tools:
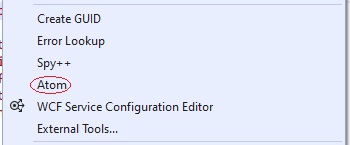
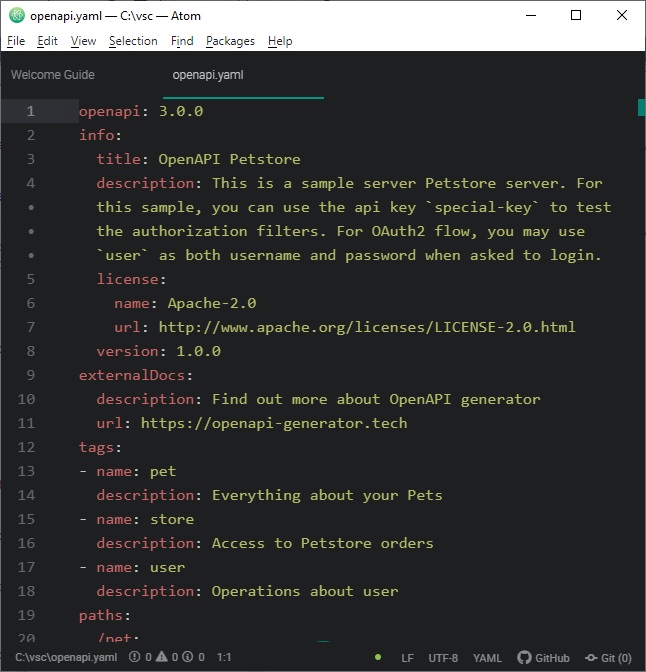
To check how it works, open a swagger file in Visual Studio and click on the menu item Atom – the swagger file will be opened in Atom:
Configure NuGet Package Manager
To configure NuGet Package Manager, execute the steps below:
- Click the menu item Tools > NuGet Package Manager > Package Manager Settings
- Make settings in the dialog window:
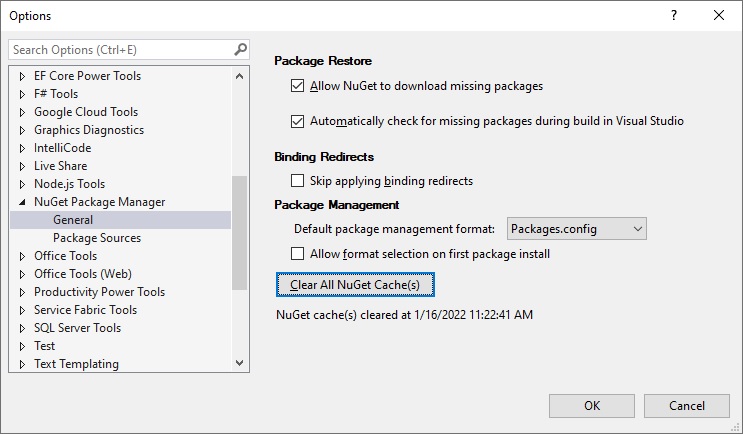
Because the NuGet cache has a tendency to grow rapidly, it is a good idea to clear it periodically. To do so, click the button Clear All NuGet Cache(s)” – you’ll gain a few additional gigabytes as a result.
- Click on the button Package Sources:
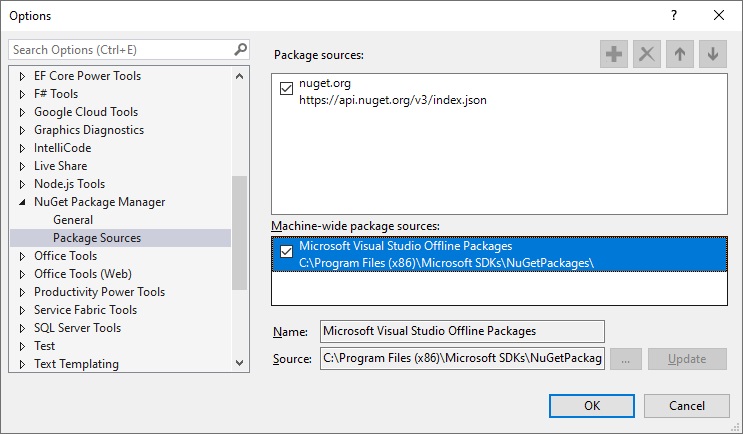
Take note of the field Machine-wide package sources; it indicates the location where you can publish (or consume) your packages locally.
If you wish to publish your packages to the NuGet.org repository, you must first specify your API key using the following CLI command:
nuget SetApiKey 55a50014-f6f0-73d4-7d71-384b1287bd5aThe API key is saved in the file Packages.config, which you can find in the subfolders of %APPDATA% folder.
Note: you can get your API keys from https://www.nuget.org/account/apikeys.
Configure Visual Studio for the Google Cloud Platform Tools
You can install the extension Google Cloud Platform Tools in Visual Studio and use it to manage Google Cloud resources for your ASP.NET project.
To use the tool execute following:
- Select Google Cloud Tools > Manage Accounts… from the menu. You’ll be prompted to sign in with your Google Cloud credentials:

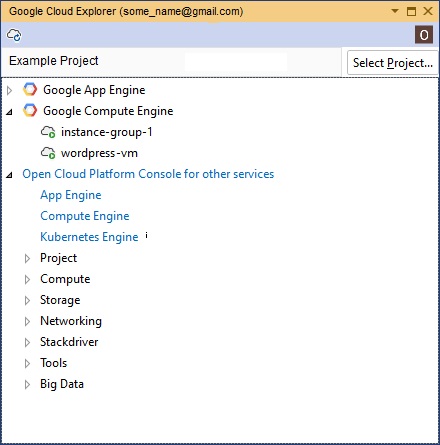
- To select your project and explore resources, click the menu item Google Cloud Tools > Show Google Cloud Explorer:
Manage Project Build Configuration
To change the solution project configuration:
- Right-click the solution name in the solution explorer and select the context menu item Properties:
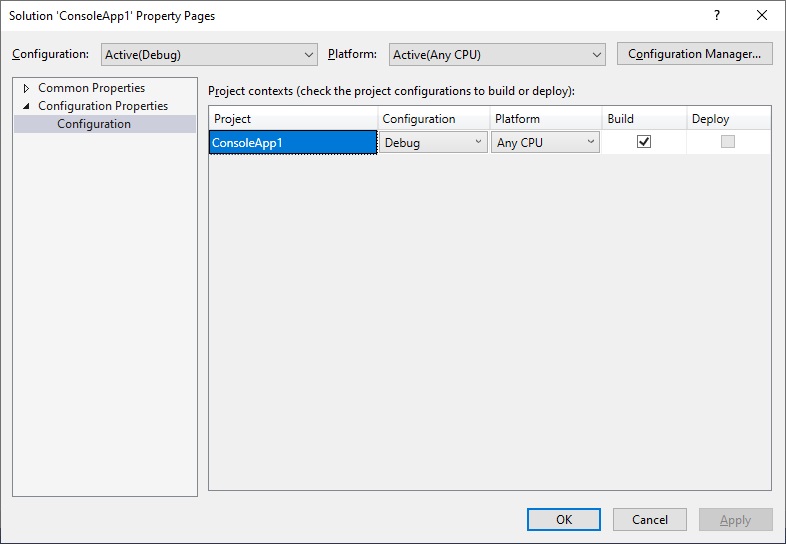
- Set the appropriate configuration parameters (Release or Debug).
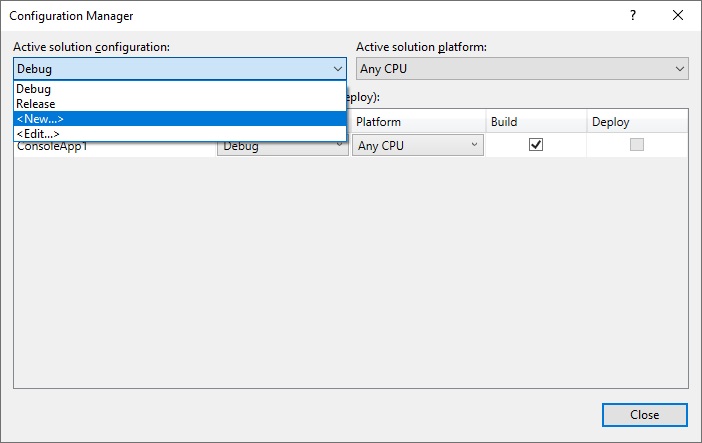
- You can save current configuration for future using by selecting the dropdown item <New..>
Extend Visual Studio functionality by installing Extensions
Install extensions from the menu Extensions > Manage Extensions:
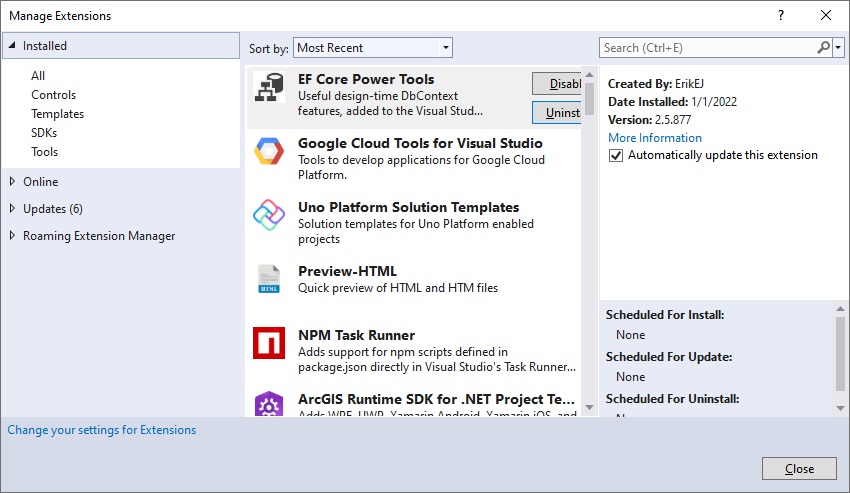
Note: The Roaming Extension Manager makes it easy to manage all of your favorite extensions across multiple development environments.
Most popular extensions are:
- Visual Assist
- Resharper
- Prettier
- Visual Studio Spell Checker
- GitHub Extension
- CodeMaid
- SQLite and SQL Server Compact Toolbox
- Microsoft Visual Studio Installer Projects
Was this helpful?
1 / 0
[…] Studio 2022 (follow the link to find how to download and configure […]